
Wednesday was my first lesson with Izzie Lewis millinery. Izzie trained as an architect and while working for WORKSHOP3D entered the Seattle millinery community. As she tells it…While shopping in a fabric store she met Wayne Wichern and under his tutelage Izzie went on to curate group hat shows in a gallery next to her workplace. She worked with many accomplished milliners to hone her attention to detail and innovative style and was instrumental in fostering a great community of milliners early in her career. Her calm demeanor and innovative thinking comes through in the classes she offers today.
Oddly enough, I met Izzie in a fabric store. She works one day a week at Nancy’s Sewing Basket on Queen Anne. I was shopping in their ribbon room and struck up a conversation with Izzie. The conversation led to hat making and now here I am in my first of four lessons – Beginning Hat Making.

We are making a ‘buckram hat with blocked crown and flat brim’. Not the easiest hat to make but a good place to learn the skills and because we will meet weekly over 4 weeks there is time for the drying and hand work that is required in this type of construction.
Lesson One
- We started by choosing a hat style to construct …Izzie warned us that the bigger the brim and crown the more time required
- Measuring head size … it is best if someone else places the tape at the widest part of the head above the ears and you write down the measurement.
- Next we choose a brim size and using a template from Izzies collection cut the disk from the buckram.

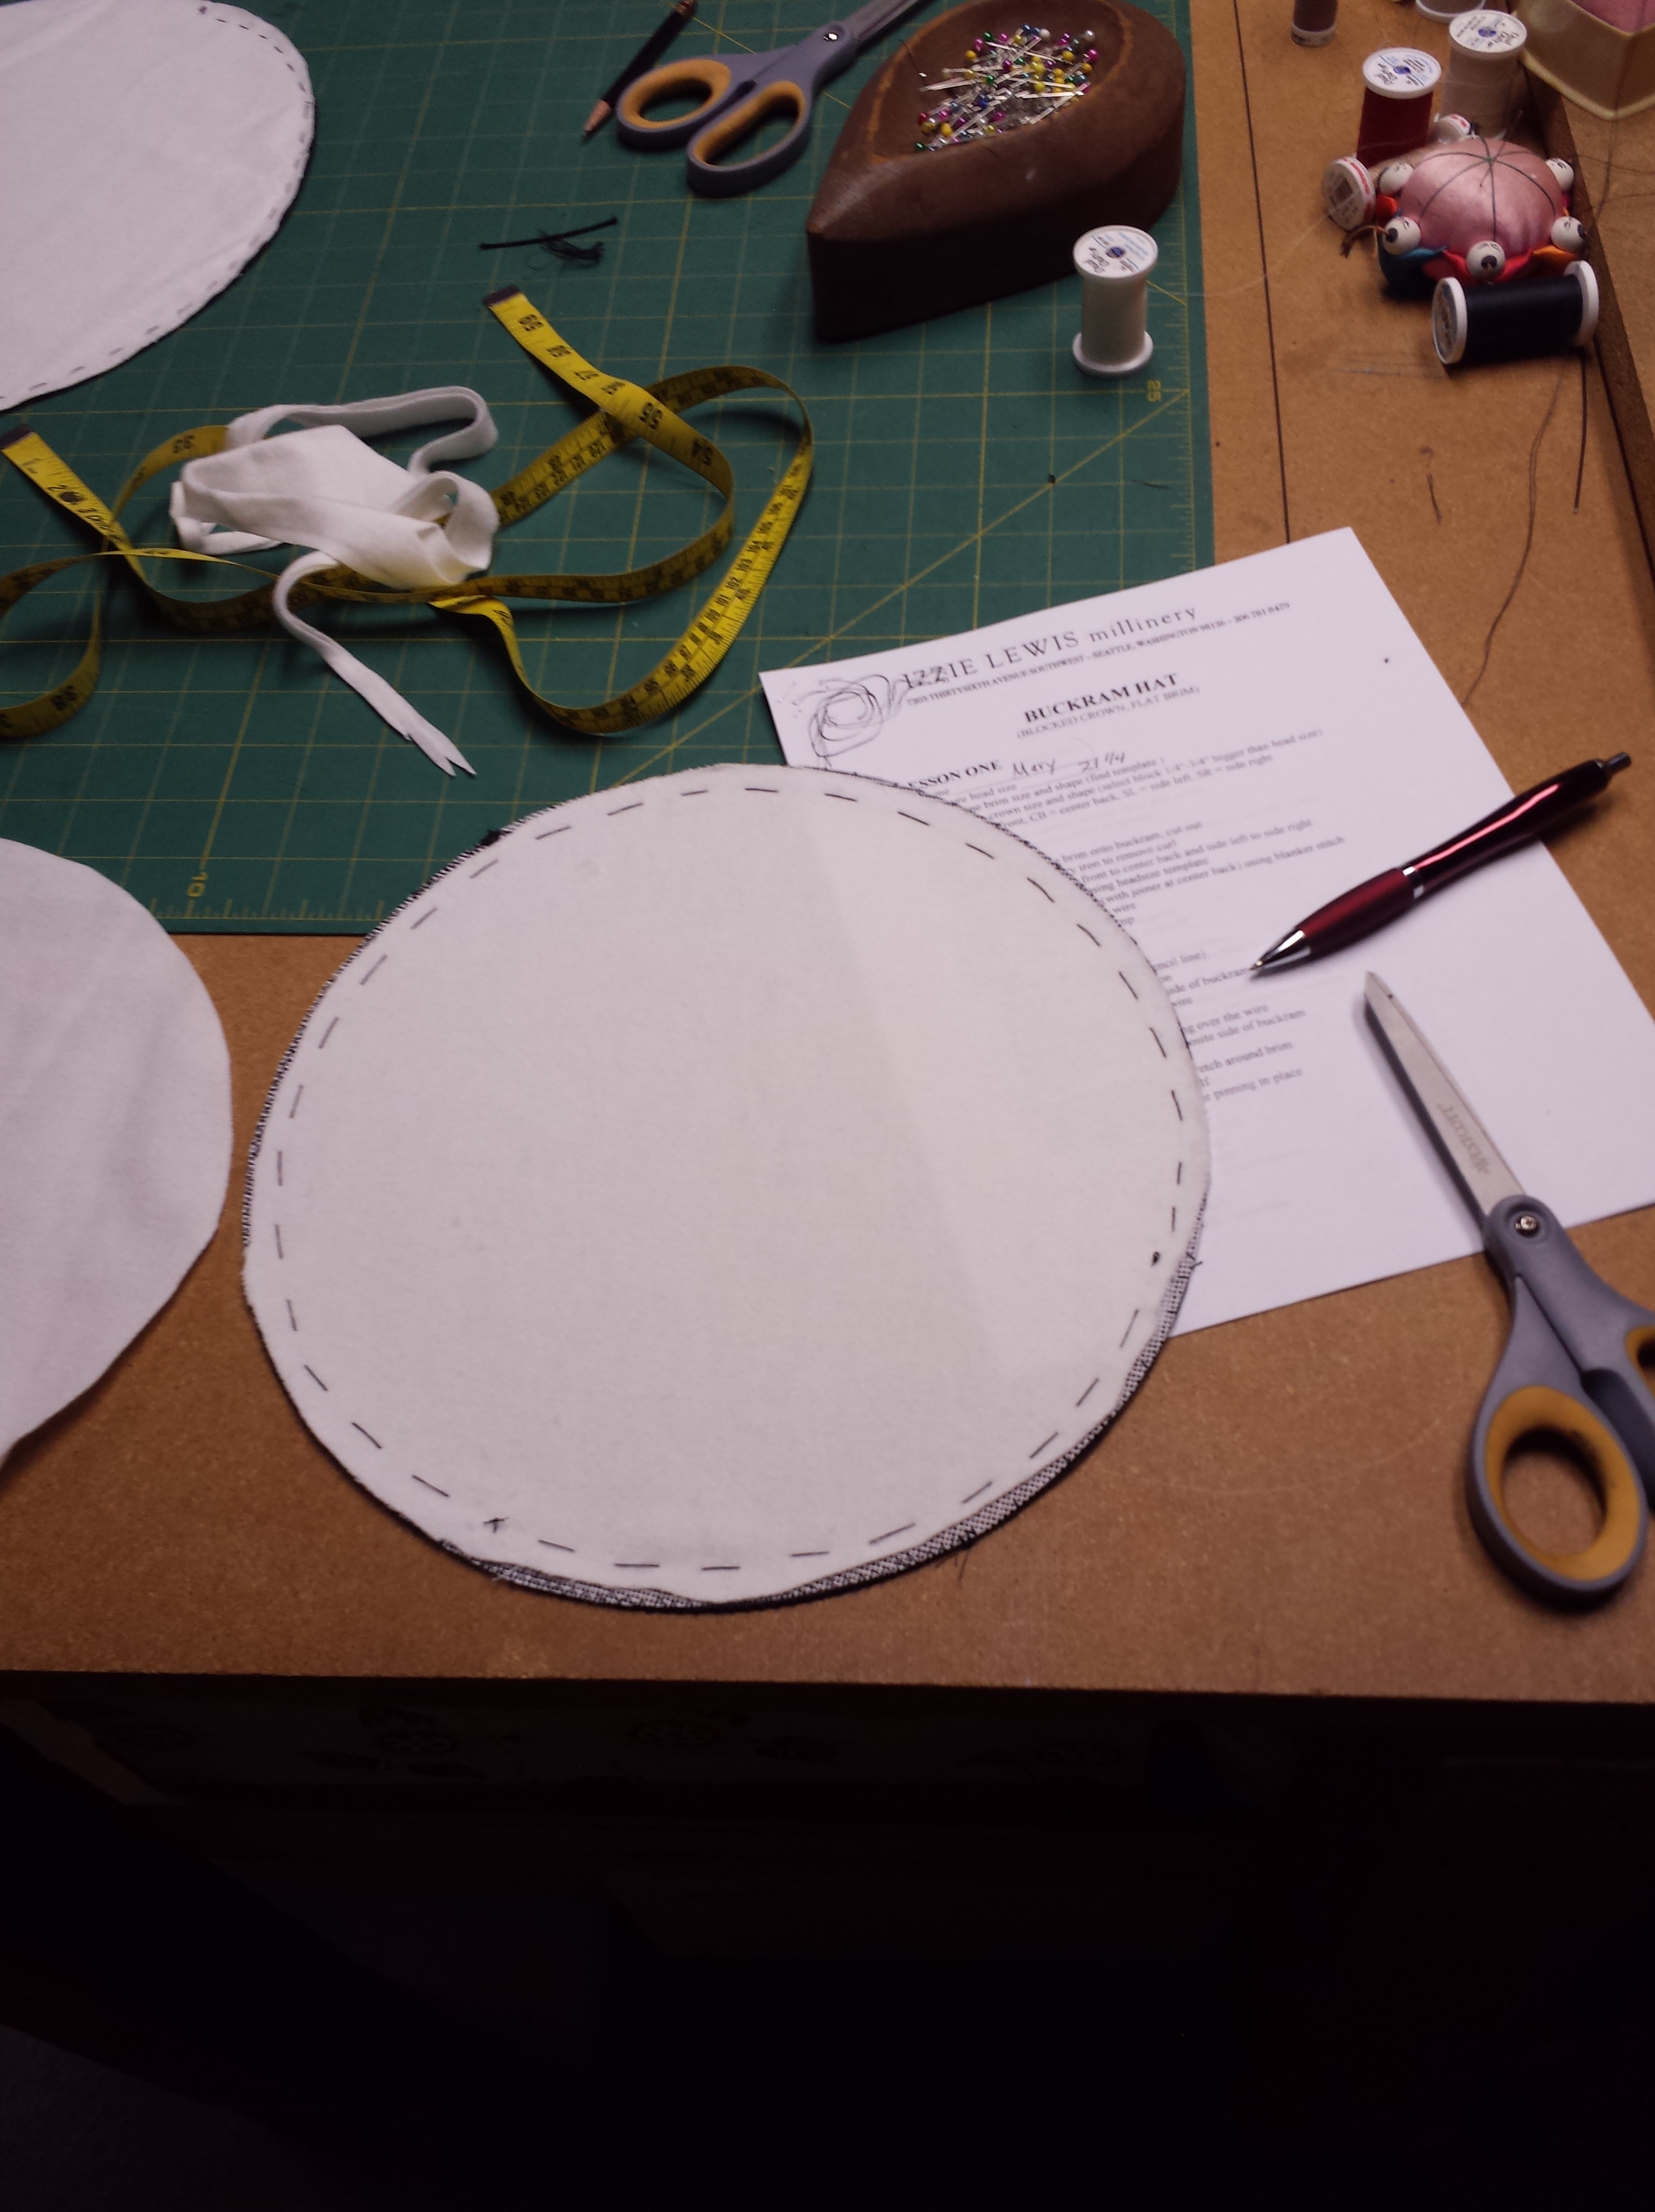
Brim with wire and flannel basted 1/4″ from edge - Center lines and headsize [using a wood template] were traced onto the buckram [always make the hat 1/4″-3/4″ bigger than head size – my head size is 21 1/4″ and I used a 22″ template for my hat ]
- Next we blanket stitched milliners wire to the brim edge, the wire is joined with a ‘joiner’. The wire can be machine sewn to the brim edge with a ‘cording foot’…which works very nicely and makes for only hand stitching at the joiner.
- Then we traced the brim onto cotton flannel, cut 2 pieces and steam pressed to the buckram, on side #1 we hand basted the flannel with a running stitch 1/4″ from the wire edge, we also basted a headsize line. On side #2 we basted the flannel 1/4″ from the wire edge
- The crown was formed from a square of buckram. First we dipped the buckram in warm water and then [with guidance] stretched and formed the pliable buckram over our selected block.
- The stretching included aligning the grain, pulling tautly, tying, tacking and using a technique to remove fullness.
- The crown was left on the block to dry

By the end of the lesson we had a basted brim and a stretched crown.
Our assignment for next lesson is to purchase 1 yard of fabric for our hat!
