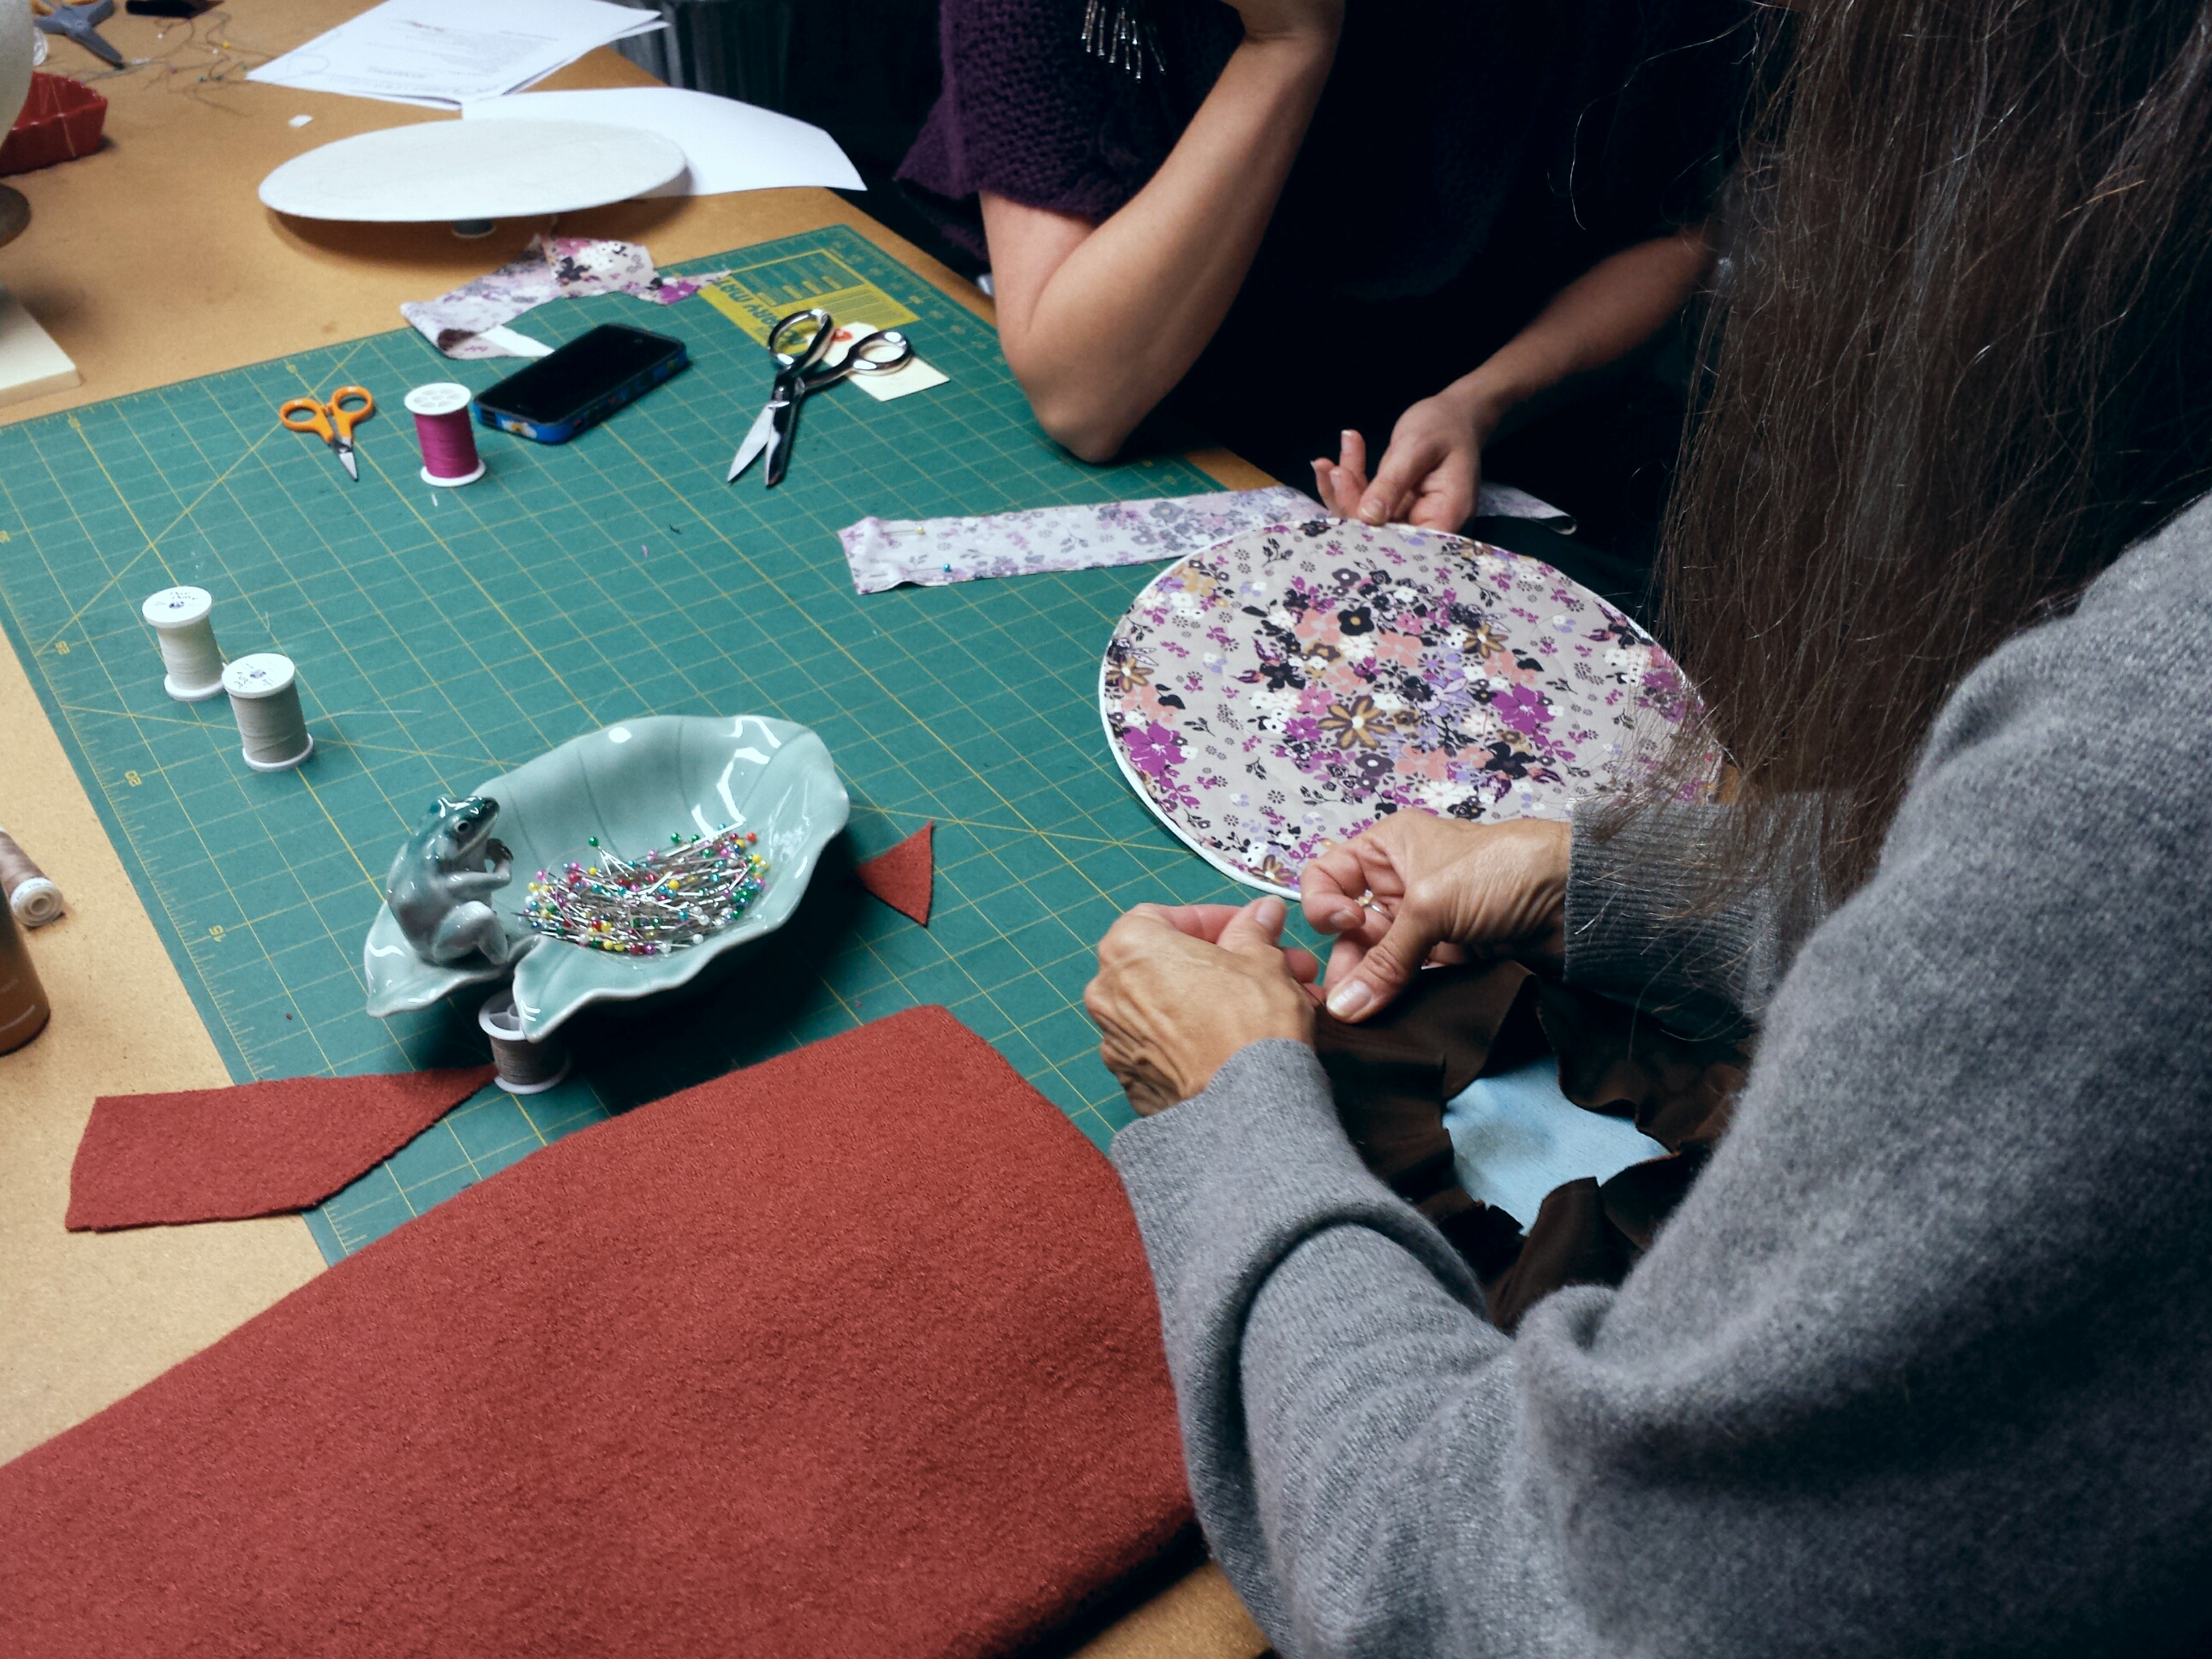
We revealed our fabrics in class this week; they are all very different so we are going to have a very interesting collection.
My fabric selection is a boiled wool in a brick color. I think the texture will be forgiving and a nice palette for some fur and feathers trim!
Lesson two focused on completing the brim.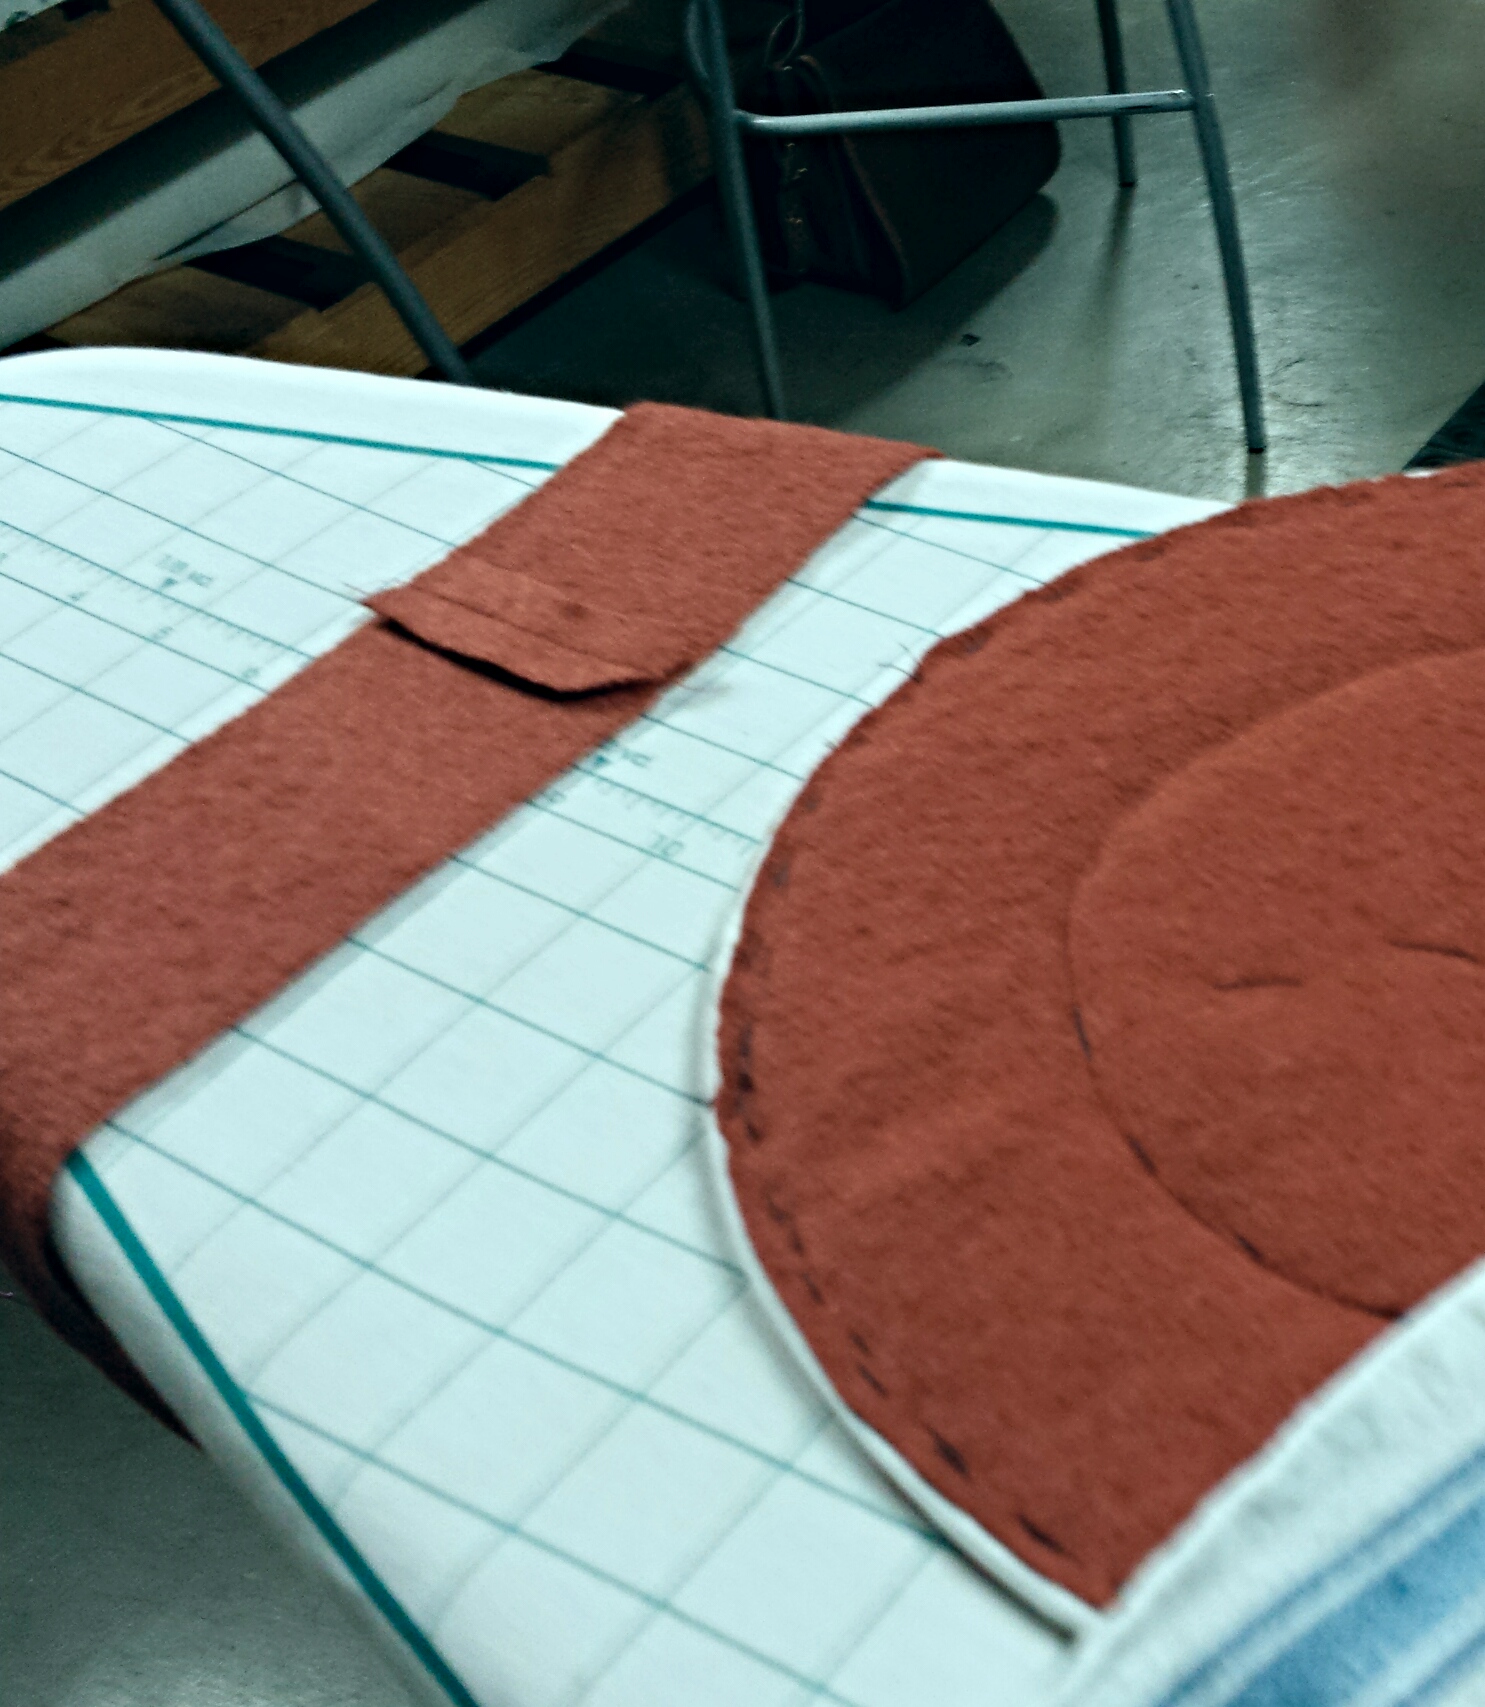
We stretched and basted a cotton single fold bias tape over the wire edge and then hand tacked a ‘center front’ and ‘center back’ mark at the edge of the brim.
Using our brim we outlined and cut 2 pieces from the hat fabric, placed the fabric on the brim and steam pressed.
Next we hand basted fabric to one side of the brim 1/4″ from wire and also hand basted a headsize line.
 We repeated the hand basting of fabric on the opposite side and then machine stitched a head size line.
Our next step was to finish the edge with our fabric.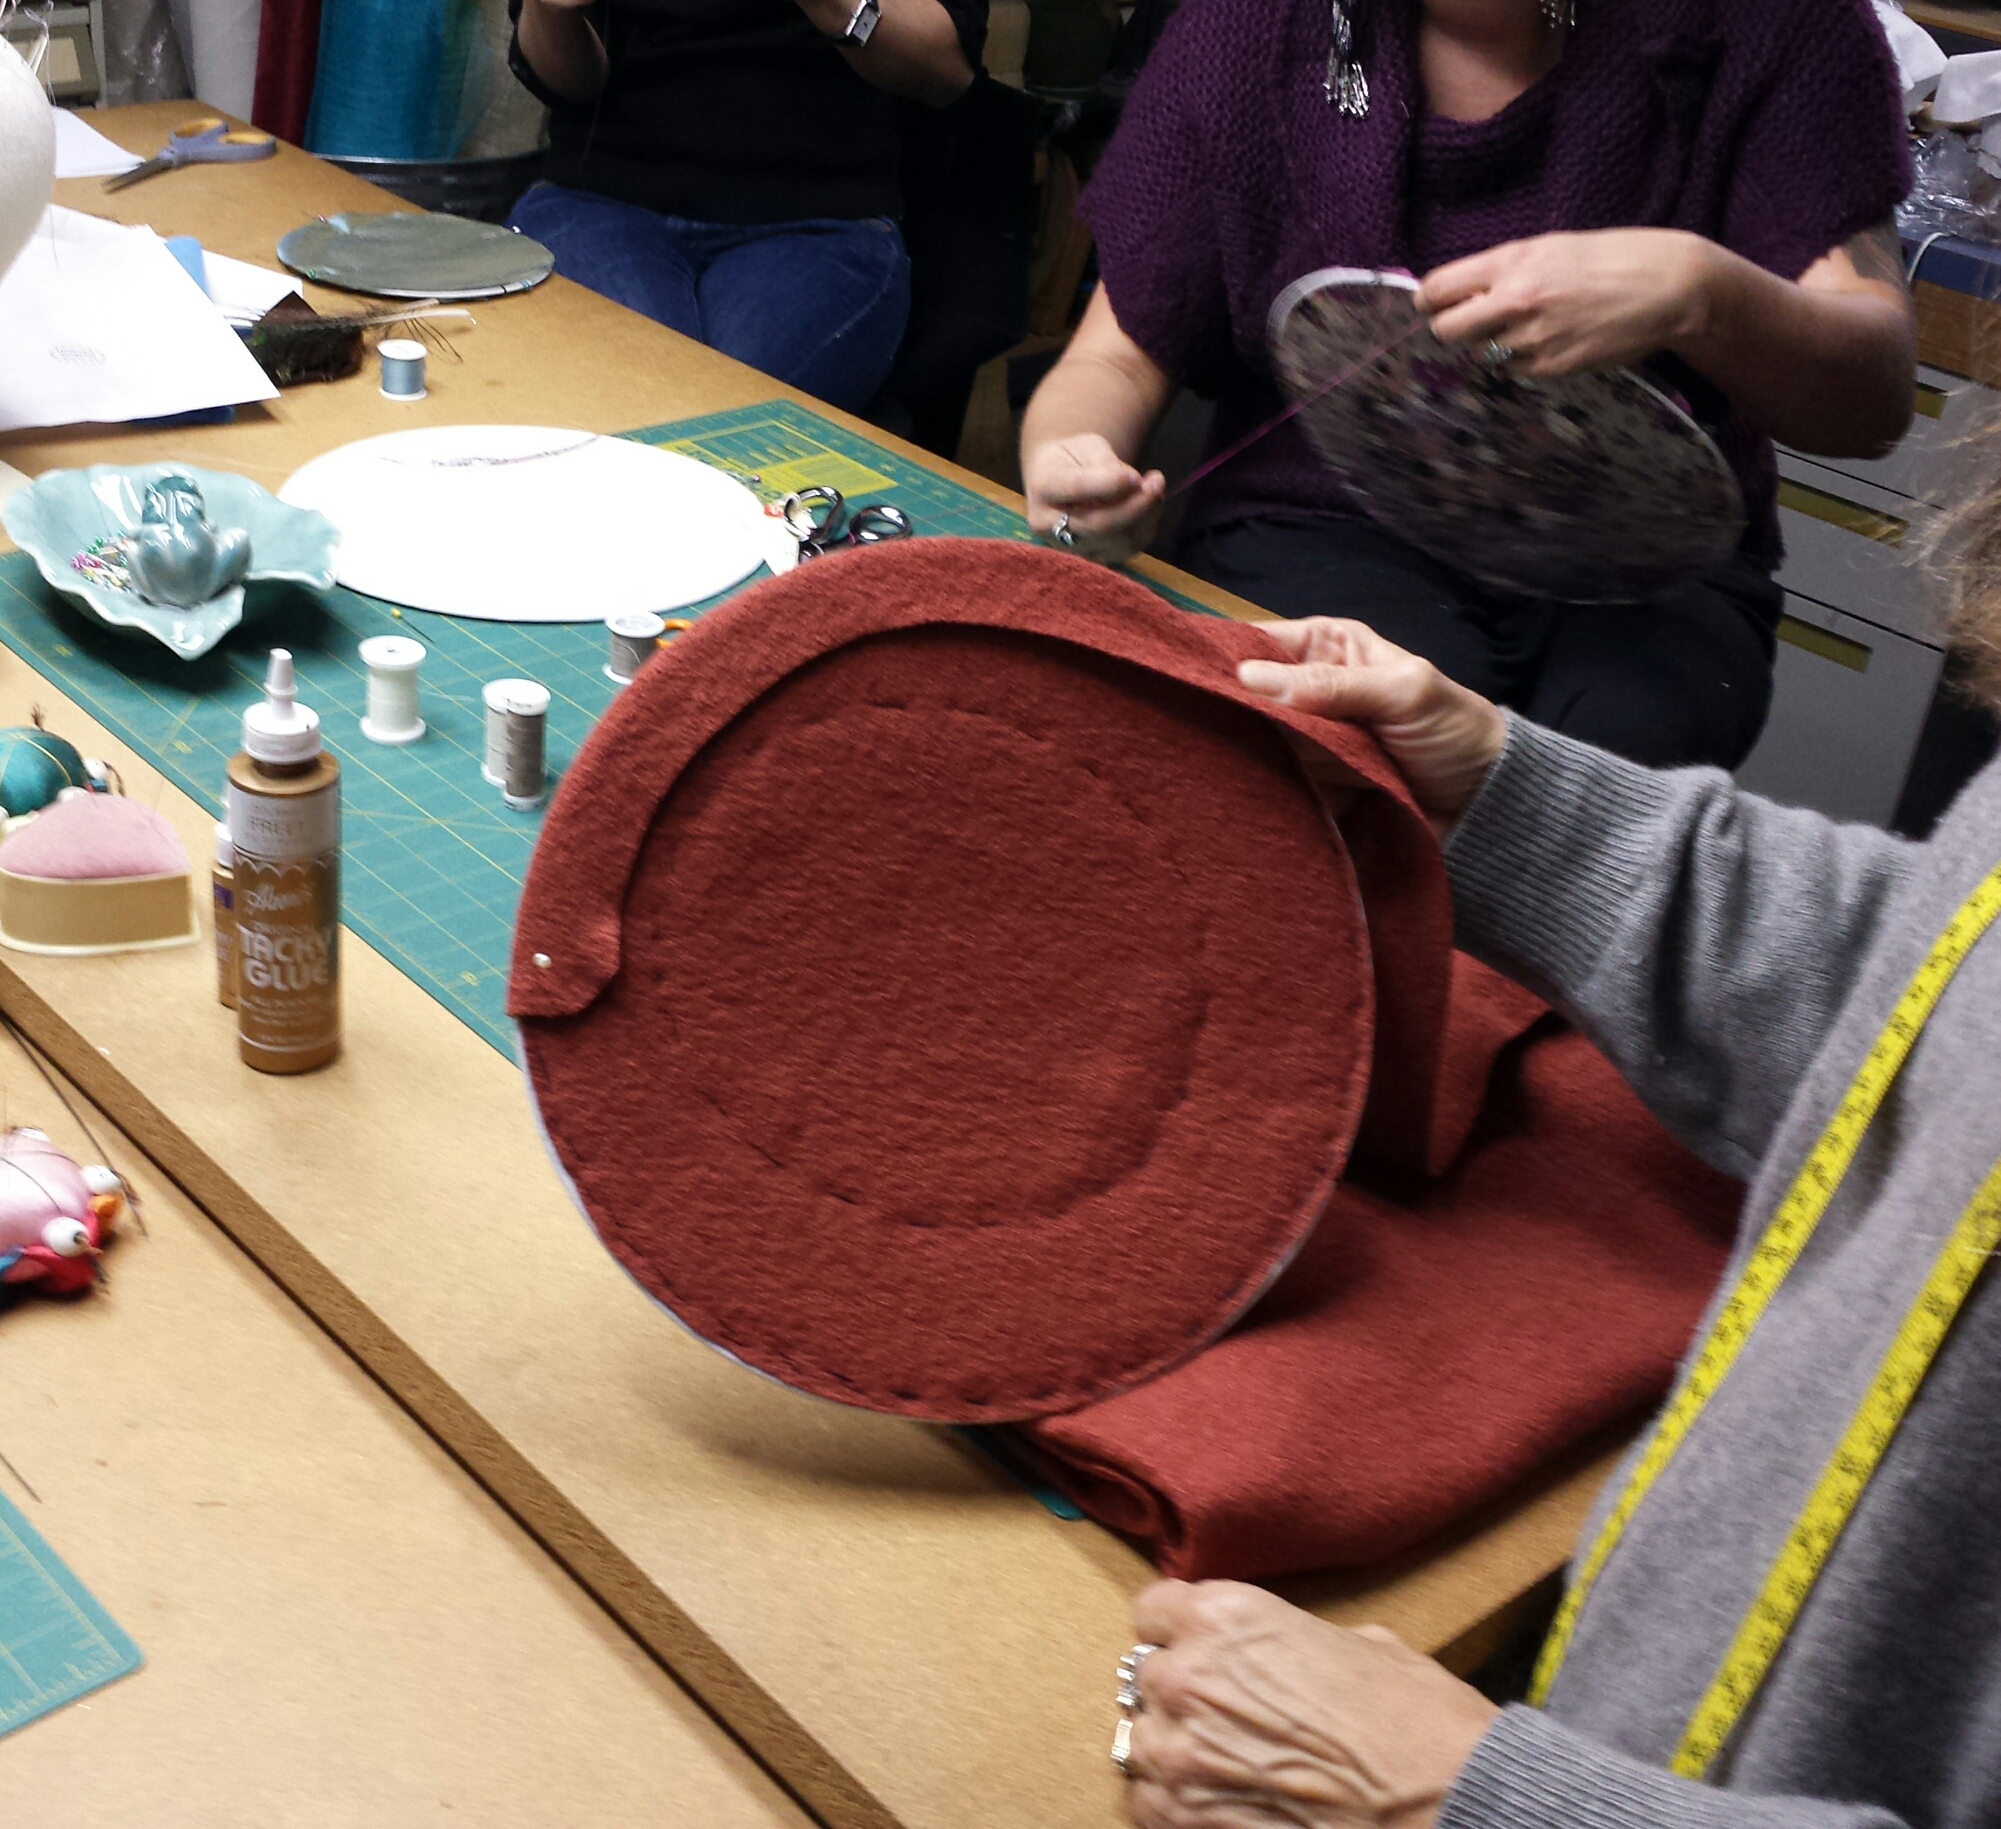
We measured the brim size and cut a bias strip, stretched it around the brim edge, marked the exact length and machine stitched the bias strip into a loop.
We stretched and pinned the bias strip to the brim placing the seam at center back, hand basted and then machine stitched about 1/2″ in from the wire .
The final step we flipped the bias strip over to the opposite side of the brim, folding the seam over pinning and hand 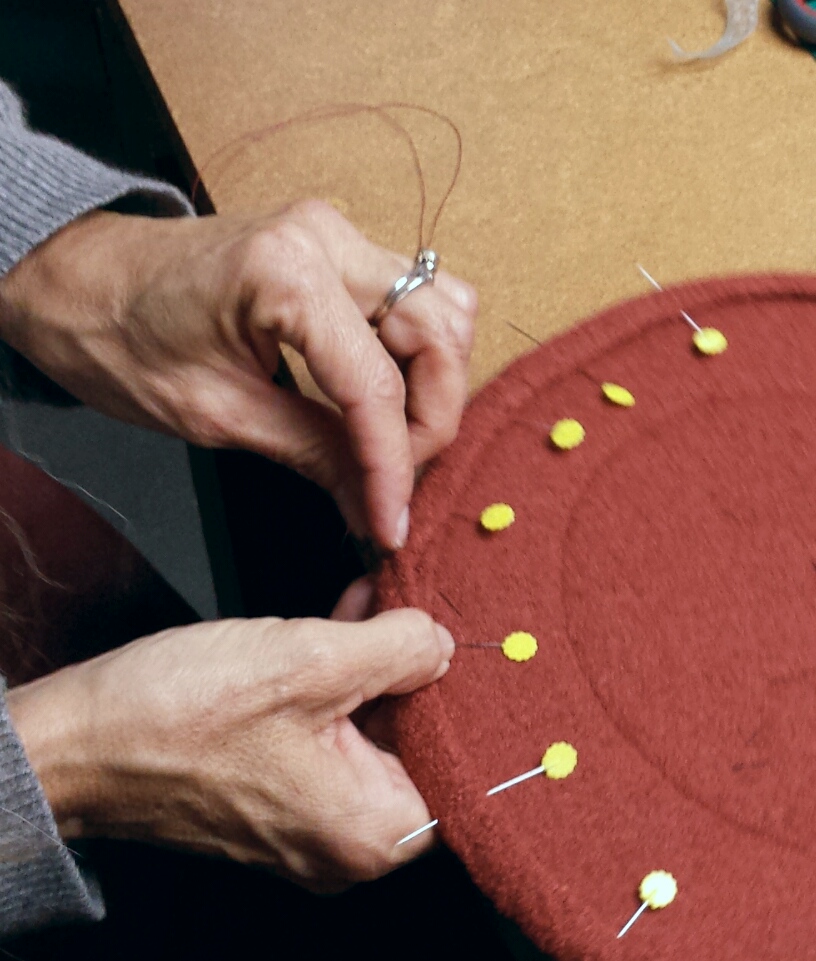 stitching in place using a hidden stitch.
Lot’s of hand stitching, not my favorite activity but it makes for a very nicely finished hat!
Next lesson is working on the crown.
