This week we learned about customizing and fitting the hat.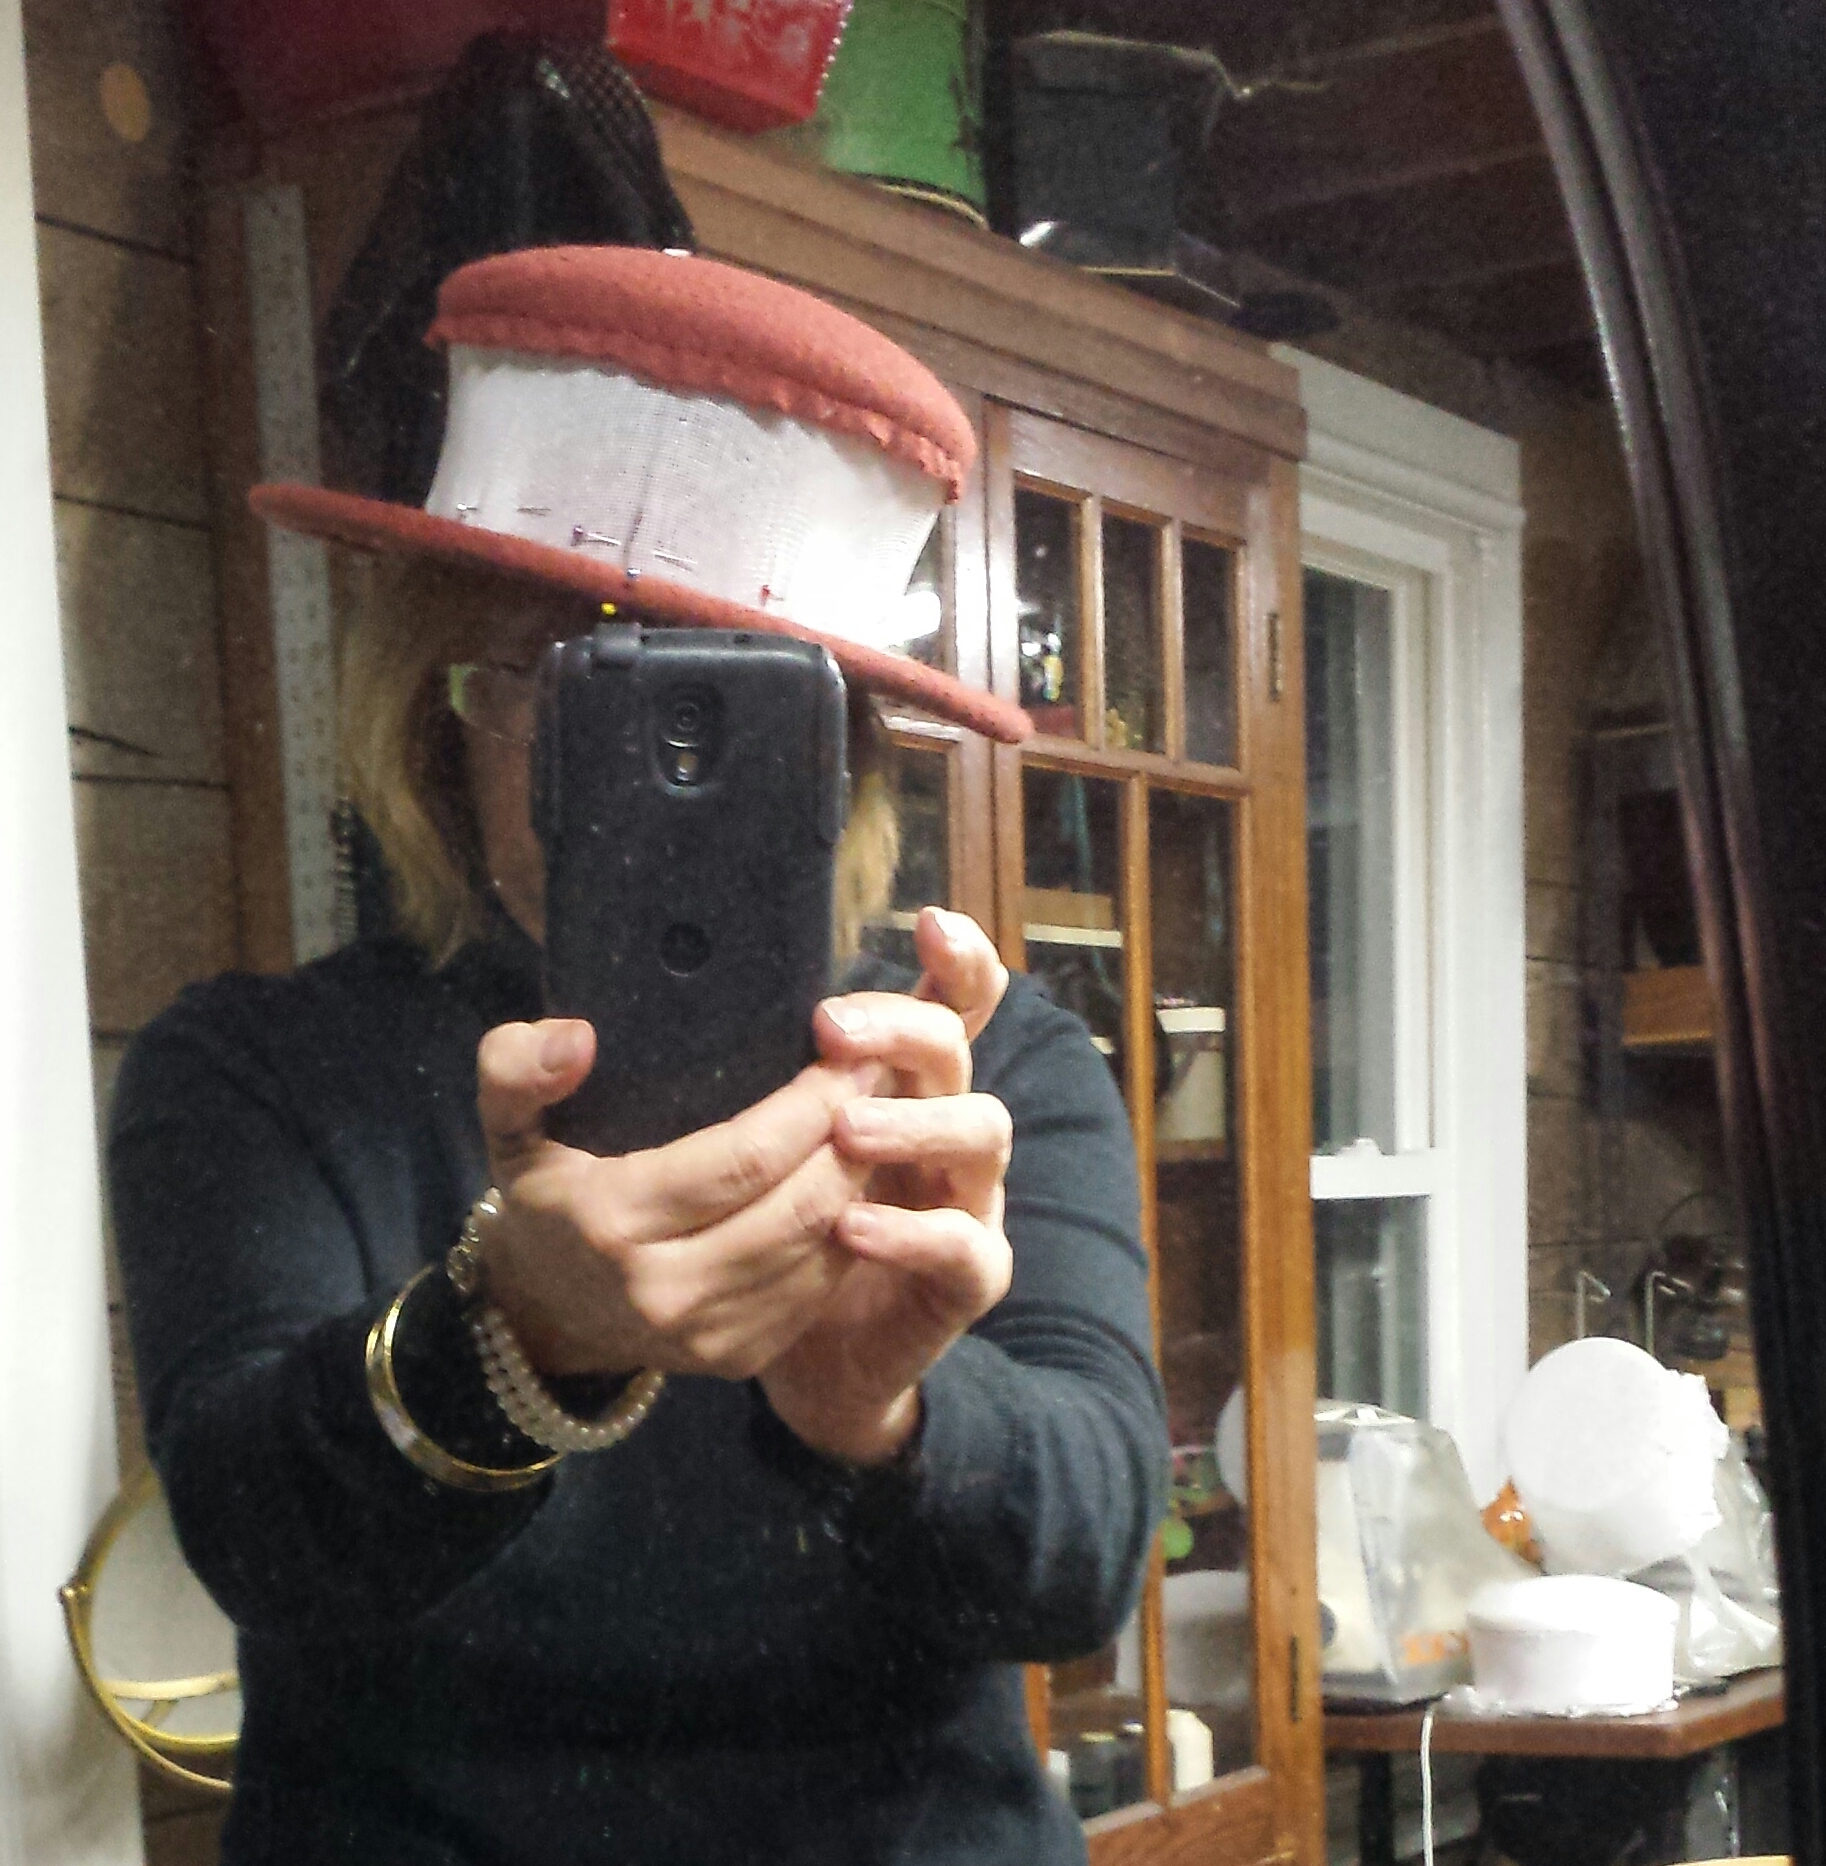
Crown
We marked center front & back on the crown, removed the tacks and popped the buckram off the block.
The crown block I used was in two pieces since it was slightly flared.
We then trimmed the buckram to our desired height, cut flannel with grain aligned front/back, pinned, backstitched and trimmed; then repeated with fabric.
Brim
This is where a custom fit hat is made, by adjusting the cut out hole to fit the shape of the head….long oval, flat oval…making adjustments and trying on until the fit is perfect.
My fabric is a little thick when folded and my head is a long oval which means I made a few adjustments; including trimming out the flannel thickness, and running a new machine stitch line in the center front.
I also clipped and manipulated the hole to fit my head. Once we had a good fit the brim and crown were pinned together and a running stitch was placed in each tab to secure.
A hat is born.
Homework is to complete the crown band.
This includes cutting a bias band 2x crown height + 1″, stretching the strip around the crown for a snug fit, arranging folds and securing with a hidden stitch.
Next lesson trims and lining.

Leave a comment